04) What is a Wave Shaper?
In the last post we spoke a little about how transfer functions and wave shapers work. Today we will dig in a little deeper into how wave shapers like ORANGE CLIP work.
In the last post we spoke a little about how transfer functions and wave shapers work. Today we will dig in a little deeper into how wave shapers like ORANGE CLIP work.
A wave shaper is a clipper, and a clipper is a wave shaper. They are essentially the same thing. It is an audio effect that changes the signal by applying a mathematical shaping function. What? In my mind, a more appropriate term would be "amplitude shaper" because it is changing gain in real-time, but nobody says that. A wave shaper changes the amplitude of the peaks instantaneously with a mathematical equation. Remember exponential functions in math class? Yeah, it's something similar to that.
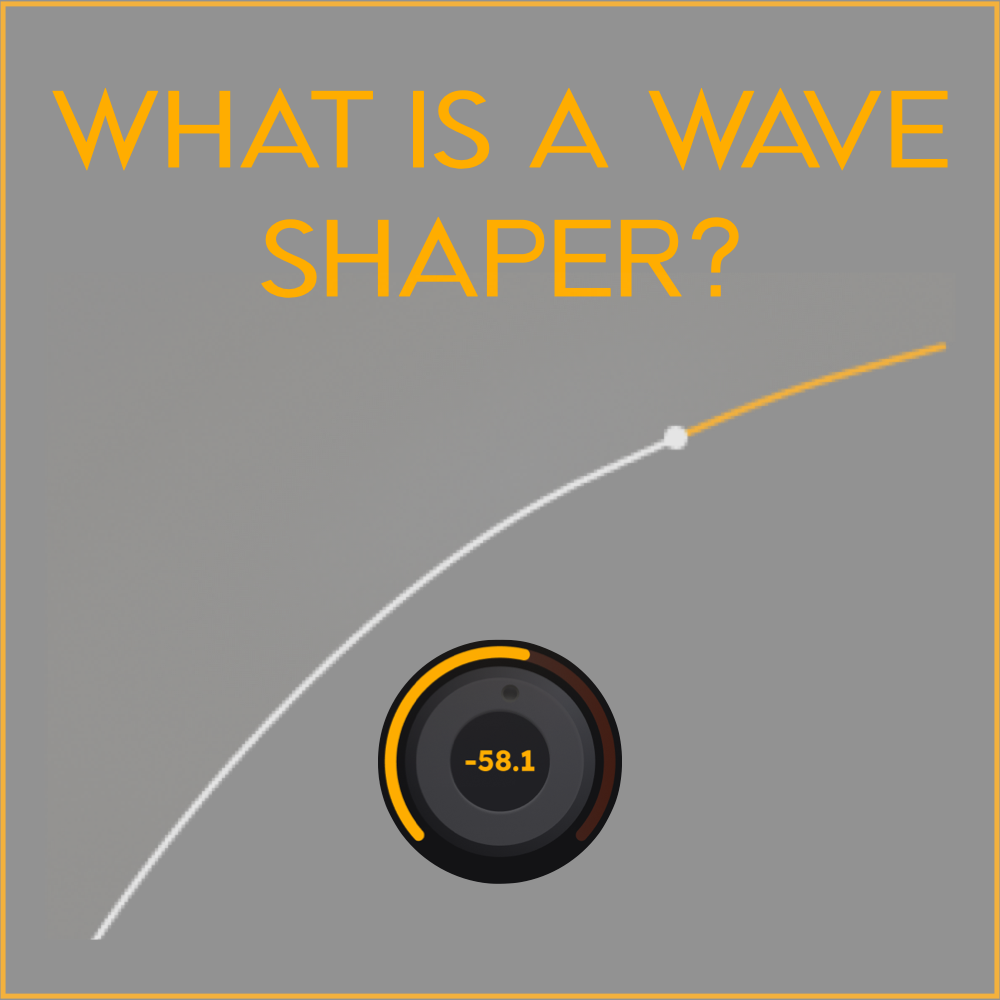
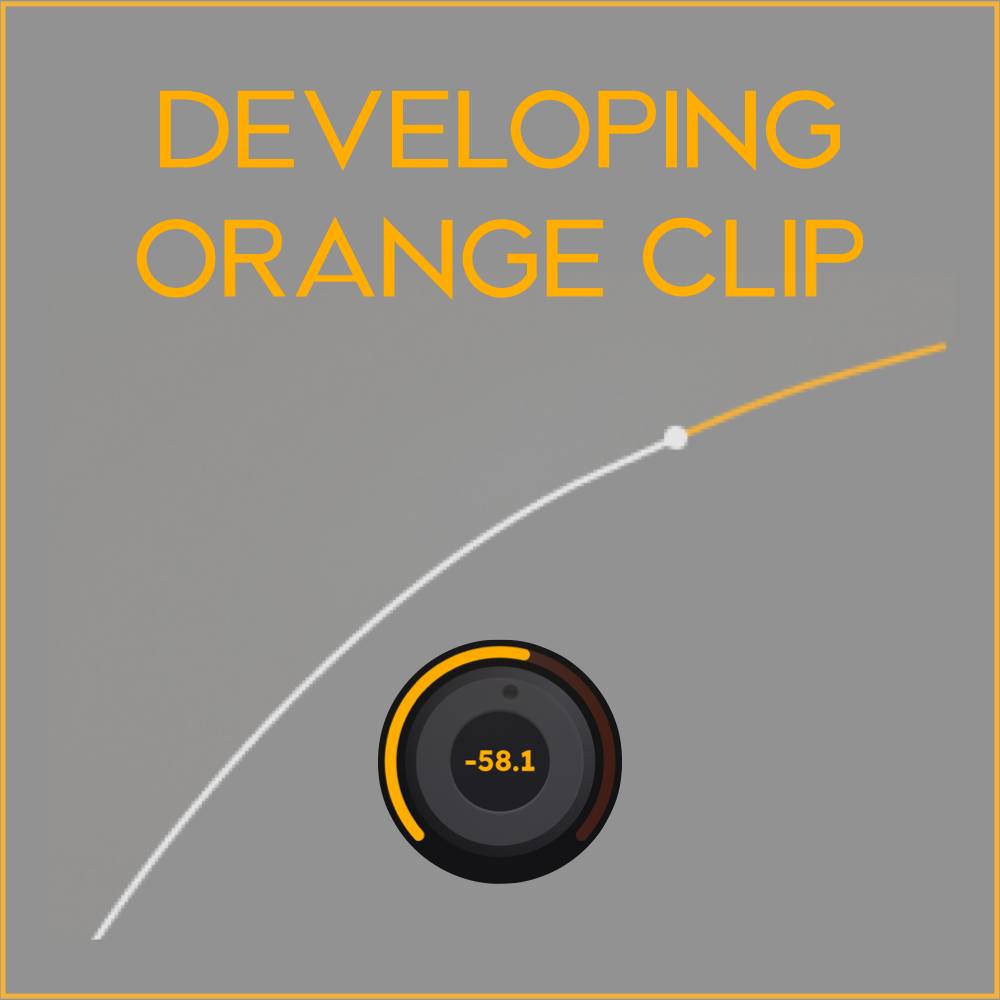
When a traditional transfer function is used as a display for a processor, like above, it is assumed that the wave shaping is symmetric; meaning it is affecting the positive and negative side of the wave form in the same way. Not all wave shapers are symmetric, but Orange Clip is.
When we look at a waveform in a DAW (image above) we see both the positive and negative side of the waveform. Essentially when the speaker pushes out and when it pulls in. A traditional transfer function only shows one side of the waveform. If we were to show both sides of the waveform, the wave shaper display would look like the orange line on image (2). The dotted line represents the input and the orange line represents the wave shaped output.
For the image above, I super imposed Orange Clip's transfer function over the positive and negative side of a waveform to emphasize the concept.
That's just scratching the surface of transfer functions and wave shapers, but it should give you a better idea of what is happening when you watch that white ball bounce along the orange line of Orange Clip.
Next time we will go a little deeper on ORANGE processing.
Be well,
Ryan Schwabe
Grammy-nominated and multi-platinum mixing & mastering engineer
Founder of Schwabe Digital
Designer of Gold Clip & Orange Clip
p.s. If you haven't already, you can buy or rent-to-own ORANGE CLIP right here.
05) What is a ORANGE Processing?
The ORANGE setting determines the size and shape of the wave shaping applied to the track. You can consider it a threshold on a compressor. It is the level at which the signal starts to wave shape or compress.
In the last post, I spoke about how wave shapers work, and today we will get into ORANGE processing. Surprise, it is a wave shaper.
The ORANGE setting determines the size and shape of the wave shaping applied to the track. You can consider it a threshold on a compressor. It is the level at which the signal starts to wave shape or compress. It is the length of the wave shaping down from the ceiling setting. The ORANGE setting goes from 0.0 dBFS (hard clipping) to -51.8 dBFS (soft clipping / shaping). The ORANGE dB value is where the wave shaping begins and the ceiling setting is where the curve ends.
If you set ORANGE to 0.0dB (clockwise) the transfer function is linear (a strait line) up until the clip ceiling setting. With this setting the processor is not wave shaping, it is hard clipping into a brick wall at the clip ceiling setting. This tends to sound brighter, more aggressive and sometimes crunchy.
If you set ORANGE to -51.8 (counter-clockwise), the input signal starts to wave shape at -51.8 dB below the ceiling setting. This is a soft knee curve that smooths out and takes the bite out of the signal. If there is a clicky or pointy kick drum in the mix, it will push that pointy sound further into the track and make things sound more round.
The default setting of -4.4 dB starts to wave shape 4.4 dB below the clip ceiling setting. This medium knee curve works in many situations and has a pleasing tone that smooths the midrange and subtly expands the lows. If you want it to sound softer and deeper, turn ORANGE counterclockwise. If you want it harder or firmer, turn clockwise.
You can think of the orange as a tone knob, but in reality, it is changing the tone by drastically affecting the dynamics of the track. If you add in some clipping and you are now are intermixing tone and distortion.
That should be enough to give you an idea of the power of Orange Clip. In the next post we will talk a bit about the ceiling, trims and metering.
Be well,
Ryan Schwabe
Grammy-nominated and multi-platinum mixing & mastering engineer
Founder of Schwabe Digital
Designer of Gold Clip & Orange Clip
p.s. If you haven't already, you can buy or rent-to-own ORANGE CLIP right here.
06) Three Clippers and a Secret Mode
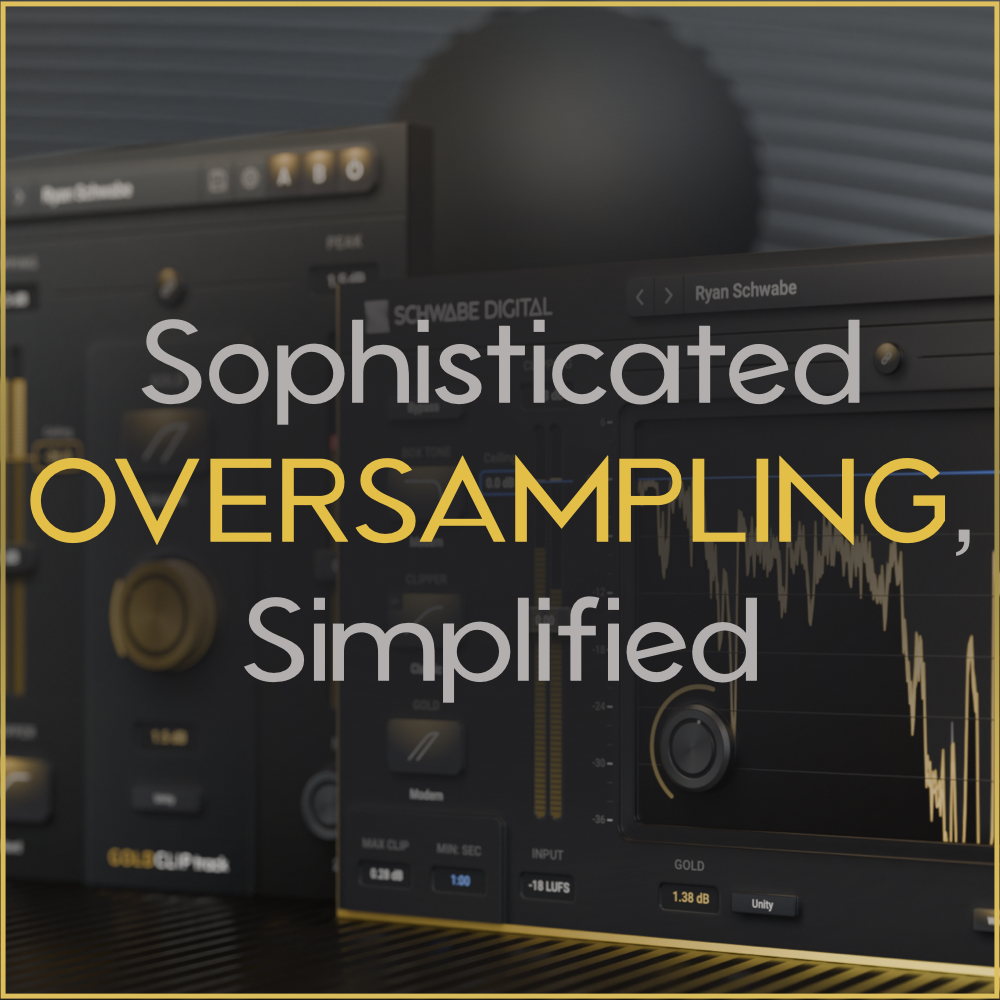
You probably already have seen that GOLD CLIP has three unique clipper algorithms: Modern, Classic, and Hard.
You probably already know that GOLD CLIP PACK includes three unique clipper algorithms: Modern, Classic, and Hard.
Each has its own distinct sound, and I highly recommend experimenting with all three to find the perfect fit for your music.
But did you know there’s a hidden fourth setting? 🤯 Keep reading, and I’ll reveal the secret behind this powerful feature!
Exploring GOLD CLIP PACK's Clipper Modes
Classic is the default setting and an excellent all-around choice. Inspired by a legendary hardware mastering device, it features a medium knee that works well on nearly any material. It’s my go-to starting point for most mixes.
Modern emulates another iconic hardware device with a softer knee, carefully tuned to match its dynamic response. This mode delivers a more lively sound, particularly accentuating low-frequency transients for a punchy, dynamic feel.
Hard offers the cleanest option, preserving the integrity of the signal below the clip point. For more delicate styles of music, I like to push the input trim so the track sits about half a dB below the clip point. From there, I use Gold for loudness and Alchemy to shape the tone, without introducing any clipping.
Each mode has its own character—experiment to find the perfect fit for your sound!
The Secret Fourth Clean Setting
During development, I insisted on a "clipper off" mode, despite some pushback from my developer.
With the clipper completely disabled, Gold and Alchemy can operate in their cleanest form, free from the harmonic effects of clipping. This setting allows for an ultra-transparent approach, perfect for genres that demand clarity and subtlety.
If you're careful with your gain staging, this mode can work wonders. I’ve used it on modern classical records, folk, ambient, and even some RnB and rap tracks. It’s a step beyond the Hard setting and incredibly powerful when used correctly.
However, be mindful—ensure your signal stays below the clip point. Pushing too hard in this mode can result in unpleasant distortion. With careful use, this hidden gem might become your go-to for pristine audio processing.
How to Unlock the Fourth Clean Setting
Want to access the secret "clipper off" mode? It’s easy: command-click on the Clipper button. This bypasses the clipper and turns the ceiling needle grey, signaling that the clipper is disengaged.
From there, use the linked input/output trim to get your signal as close to 0.0 dBFS as possible. Then, apply Gold and Alchemy processing.
And just like that, you’re using Gold Clip in the cleanest way possible. Perfect for when transparency is your top priority!
Want to Try a Secret-Secret Wild and Aggressive Mode?
Here’s one for the adventurous: turn off the clippers, select Classic GOLD, and crank the input trim into overdrive. What happens next? Some wild, weird, and downright aggressive overloading. This mode takes Gold Clip into uncharted territory—perfect for experimental sounds and pushing boundaries.
Give it a try, and let me know what you think. Tag @SchwabeDigital in an instagram story and show us how you are using Gold Clip. We'll repost.
In the next post, we will talk about what makes the Clip Clock so useful.
Be well,
Ryan Schwabe
Grammy-nominated and multi-platinum mixing & mastering engineer
Founder of Schwabe Digital
p.s. Subscribe below for updates on Schwabe Digital Plugins.


